
Imagine a quiet corner buzzing with color. An idea flickers in my mind, then grows into bold strokes and marks on paper. At the end, that same piece of art travels miles, landing in someone’s home. This journey mixes raw creativity with careful planning. It shows the real work behind each artwork I sell. Ever wonder what happens inside an artist’s studio? Accompany me on the journey inside my art studio, from inspiration to creation to shipment.
The Initial Concept Starts Outside My Art Studio

The initial concept for my art first starts outside my art studio, where I carefully observe themes and objects. My artistic process is ninety percent observation, ten percent drawing and painting. Once I’ve found a subject, the question becomes – Should I keep it simple or detailed?
There are many different ways to portray a theme or object. A simple rendering strengthens the concept and message. More detail brings out previous unnoticed beauty and function. There’s no right answer to this question. It all depends on my subject and what I want to say with my art.
Inside My Art Studio: The Initial Sketch
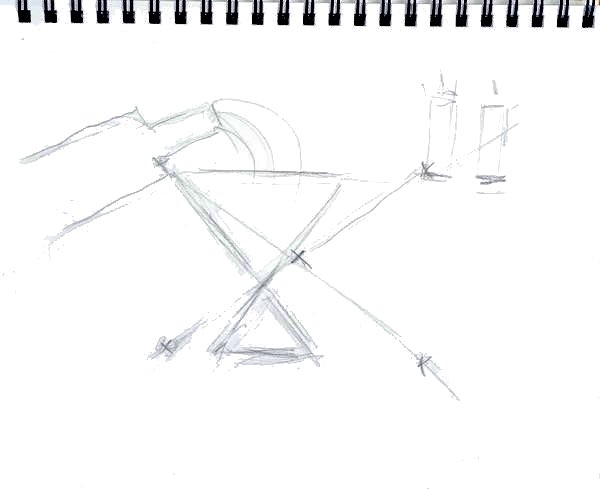
Once I’ve got my concept, I go inside my art studio and start a rough pencil drawing. Loose lines capture the basic shape fast. No need for perfection here—just flow. I refine my drawings over a few minutes, hours, or sometimes days. Erase and redraw, sometimes tear up and start over. All the while thinking about colors and composition.
Selecting the Art Materials
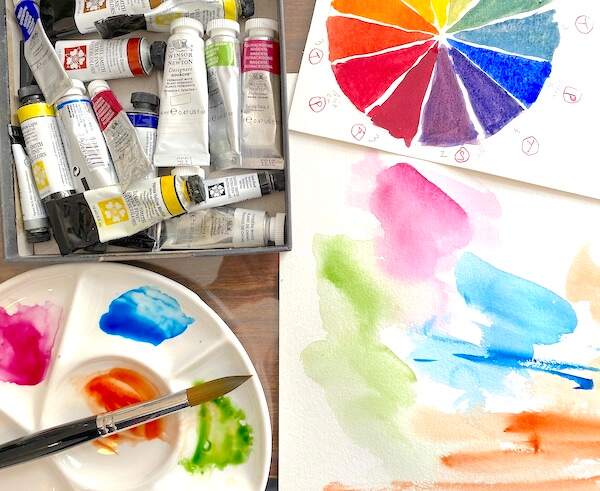
Selecting the art materials is the next step. I have so many different media inside my art studio that it’s important to keep things organized. The subject, color scheme, and message determine what media I’ll use. Oil pastel sticks are great for bold colors and texture. If I want a more flowing, ethereal feeling, I’ll choose watercolor. The humble pencil is perfect for monochromatic, final drawings filled with detail.
The Fun Part Inside My Art Studio: Bringing the Concept to Life
Now the fun ramps up. Hands get messy as I turn sketches into real art. My studio hums with focus during these hours. Patience rules here. Art takes time, layer by layer. It’s like planting a seed and watching it grow. First the general shapes, then the details.
Incorporating Iterations
My paintings and drawings go through many iterations until it looks right. Sometimes I lighten or darken selected areas to adjust lights, darks, and contrast. I might add, remove, or modify a color. When I think I’m finished, I’ll set aside the artwork and look at it again the next day. Looking with fresh eyes helps me notice anything that isn’t quite right. Which brings me to the next step.
Finalizing the Artwork: Quality Checks and Finishing Touches
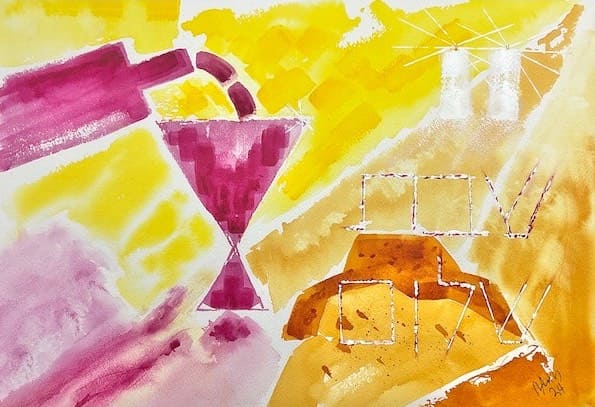
This step ensures that all the elements in the artwork fit together. There’s a harmonious color scheme. Highlights and shadows are where they should be. Horizontal and vertical lines are truly horizontal and vertical. A powerful composition draws the viewer to the focal point of the piece. Every element fits. And the final touch on each piece of art – my signature.
Outside the Art Studio: Selling My Art Online
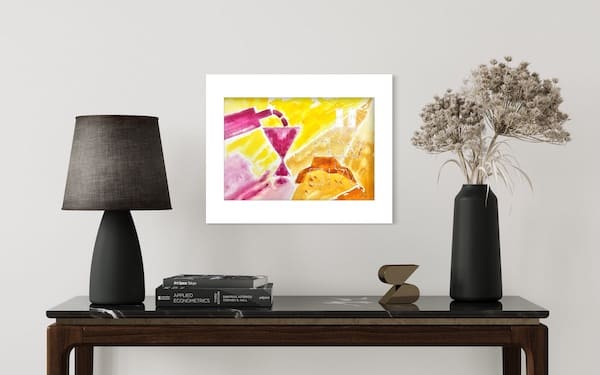
I take high resolution shots of the art, then upload to my preferred art platform Saatchi Art. My photos include the raw artwork as well as interior mock-ups. These interior photos provide an idea of the size of the piece relative to walls and furniture. A buyer has the option of purchasing the artwork at the listed price, or making an offer. I usually respond to offers within 24 hours.
Preparing the Art for Shipment
Matting the Artwork
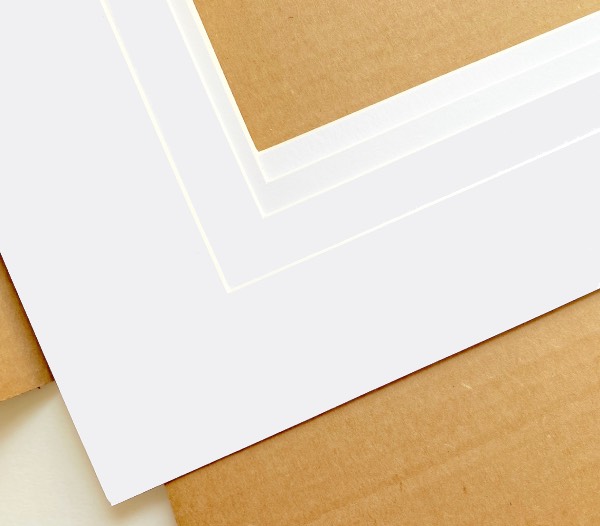
I affix each piece of art to an acid free white mat. This makes framing easy, protects the piece from contact with the frame covering, and provides a beautiful contrast between the art and frame.
Certificate of Authenticity
A Certificate of Authenticity accompanies each piece of art. This one page document includes the name of the piece, date and place of creation, dimensions, medium, and my signature.
Packaging and Shipping: Delivering Art Safely
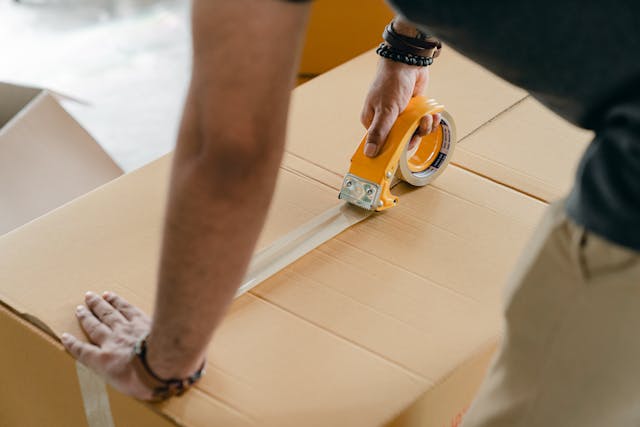
Creation ends, but the trip begins. Secure packing turns worry into excitement. I handle this myself to control quality.
Acid-free paper hugs the piece first. Firm boards front and back. A large plastic bag protects the artwork from moisture, then bubble wrap. I insert the artwork into a corrugated shipping box. Adding extra bubble wrap prevents shifting in transit.
I insert the Certificate of Authenticity and a thank you note. Shipping tape hugs the box all around.
Conclusion
From a spark in my mind to a box on your door, my art studio journey blends both mind and heart. Ideas bloom through sketches, composition and color. Focused thought, iterations, and quality checks make sure everything is perfect. And careful packing seals the promise of safe arrival. Thanks for reading!